Apple Self-hosted GitHub Runner
Estimated time to read: 4 minutes
In this post, I take a look at the process of creating a self-hosted ARM-based GitHub runner for CI/CD. This runner is currently being used for the development of PyBaMM and PyBOP.
TL;DR: Configure a self-hosted Apple M2 GitHub runner to validate the deployment of your repositories on Apple-based ARM hardware. An example workflow is presented from PyBaMM's daily testing workflow. This example is over 2X faster than the GitHub-hosted hardware.
What is a runner?
As per GitHub's definition:
A self-hosted runner is a system that you deploy and manage to execute jobs from GitHub Actions
So we are responsible for the "system" that will execute the GitHub actions. Seems reasonable, but why bother with this overhead when GitHub will manage the whole workflow for you?
This is the crux of the TIL: to achieve both robust and high performance testing workflows, a self-hosted runner is a great solution (assuming you have the hardware lying around).
As this article was being written, GitHub [https://github.blog/2023-10-02-introducing-the-new-apple-silicon-powered-m1-macos-larger-runner-for-github-actions/){:target='_blank'} released their Apple M1 runner. Previously, M-Series ARM support wasn't offered, so a self-hosted runner was needed to validate and develop on this hardware. Other potential use cases include the need to deploy private or proprietary software, or the need for a system environment that GitHub doesn't offer. This is also covered on GitHub,
Self-hosted runners offer more control of hardware, operating system, and software tools than GitHub-hosted runners provide. With self-hosted runners, you can create custom hardware configurations that meet your needs with processing power or memory to run larger jobs, install software available on your local network, and choose an operating system not offered by GitHub-hosted runners. Self-hosted runners can be physical, virtual, in a container, on-premises, or in a cloud.
Let's get to it
The setup begins with the creation of a runner-specific macOS account, such as runner, with limited privileges. This is the first step in hardening the runner against malicious code that might be deployed on it. To do this, run the following bash command on an account with administrative privileges.
account create runner
Next, log in to this newly created account and run the GitHub repository-specific commands to associate the runner with the selected repository. These can be found in the repository settings under Settings -> Actions -> Runners. This will look like:
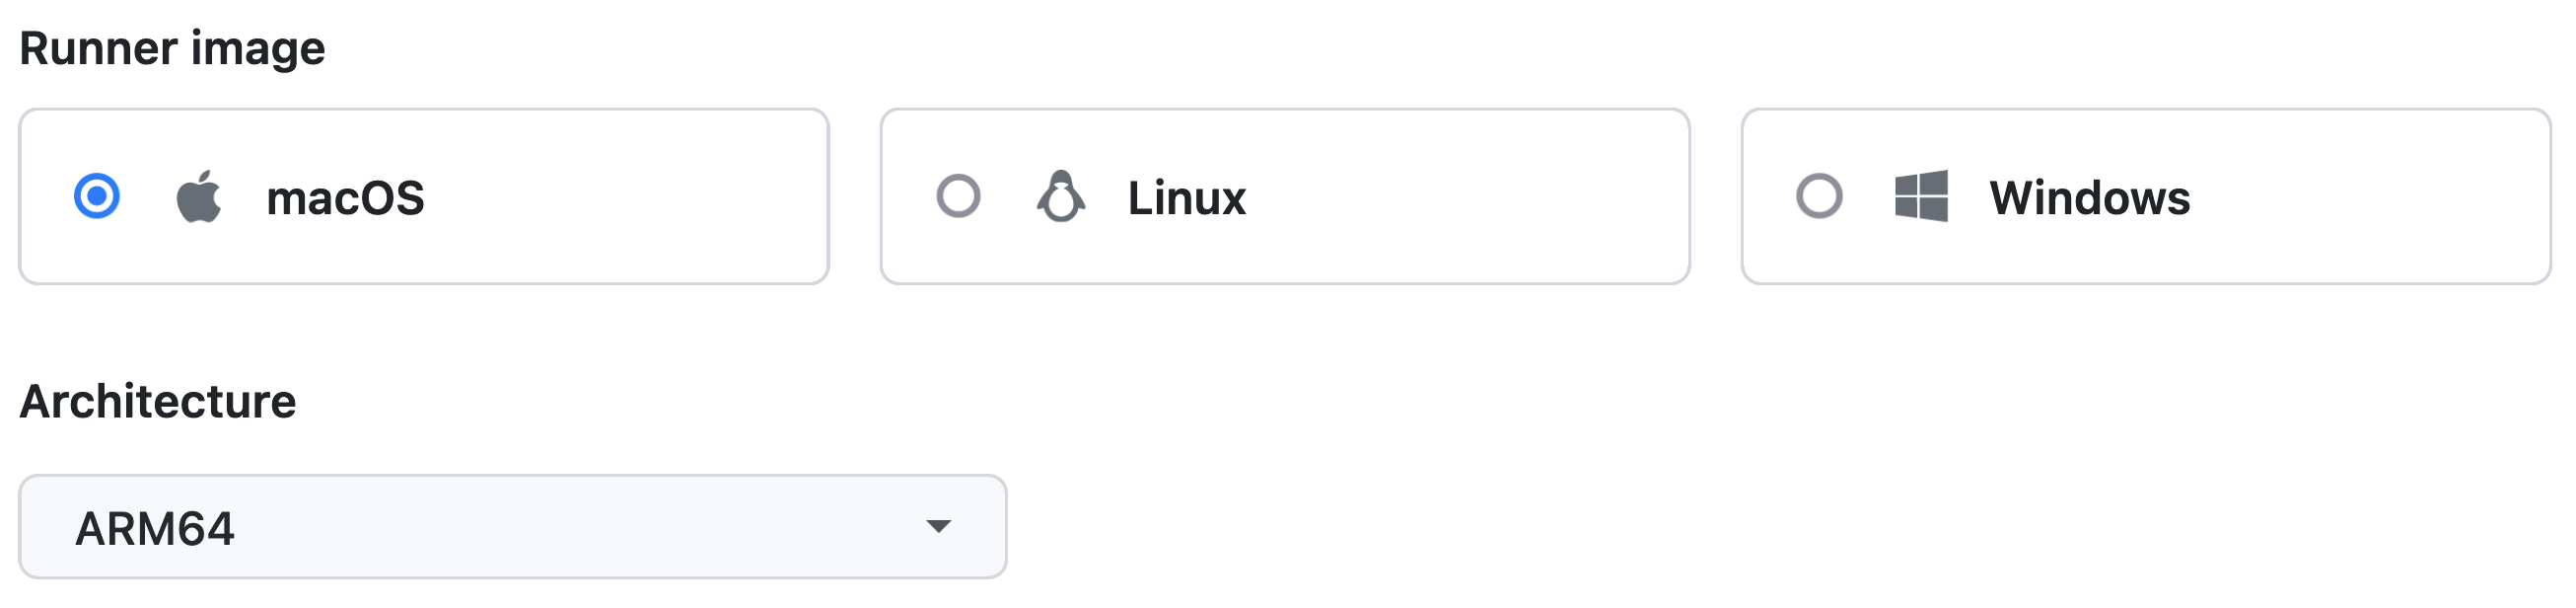
The installation and validation commands then look like,
# Create a folder
$ mkdir actions-runner && cd actions-runner
# Download the latest runner package
$ curl -o actions-runner-osx-arm64-2.308.0.tar.gz -L https://github.com/actions/runner/releases/download/v2.308.0/actions-runner-osx-arm64-2.308.0.tar.gz
# Optional: Validate the hash
$ echo "a8b2c25868e4296cbd203342754223dd2cc17f91585592c99ccd85b587d05310  actions-runner-osx-arm64-2.308.0.tar.gz" | shasum -a 256 -c
# Extract the installer
$ tar xzf ./actions-runner-osx-arm64-2.308.0.tar.gz
# Create the runner and start the configuration experience
$ ./config.sh --url https://github.com/xxx/xxx --token xxxxxx
# Last step, run it!
$ ./run.sh
Running the above code will set up the runner configuration and links it to the repository of your choice. The runner should then appear in the GitHub repository as,
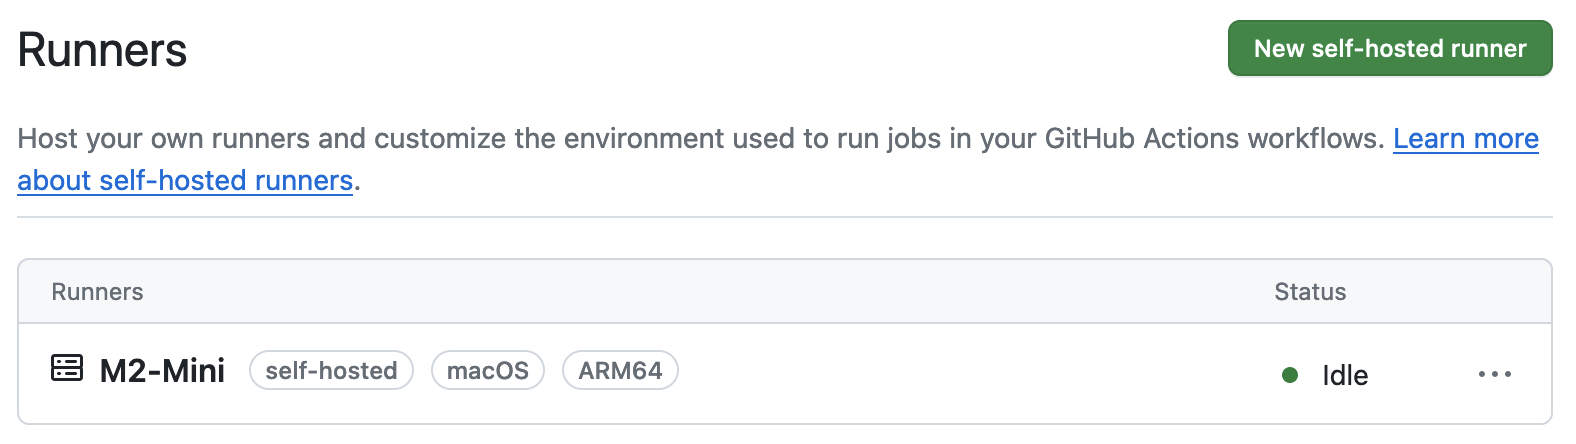
This is mostly it, the remaining setup involves adding the runner to your CI/CD workflows. This is fairly straightforward and requires the target workflow to use the tags associated with this runner. In this case, using self-hosted, macOS or ARM64 will deploy the workflow on the self-hosted runner.
Example workflow
For an example of how to integrate your workflow onto the runner, the following is an excerpt from the PyBaMM scheduled test workflow.
#M-series Mac Mini
  build-apple-mseries:
    needs: style
    runs-on: [self-hosted, macOS, ARM64]
    env:
      GITHUB_PATH: ${PYENV_ROOT/bin:$PATH}
    strategy:
      fail-fast: false
      matrix:
        python-version: ["3.8", "3.9", "3.10", "3.11"]

    steps:
      - uses: actions/checkout@v4
      - name: Install python & create virtualenv
        shell: bash
        run: |
          eval "$(pyenv init -)"
          pyenv install ${{ matrix.python-version }} -s
          pyenv virtualenv ${{ matrix.python-version }} pybamm-${{ matrix.python-version }}

      - name: Install dependencies & run unit tests for Windows and MacOS
        shell: bash
        run: |
          eval "$(pyenv init -)"
          pyenv activate pybamm-${{ matrix.python-version }}
          python -m pip install --upgrade pip wheel setuptools nox
          python -m nox -s unit

      - name: Run integration tests for Windows and MacOS
        run: |
          eval "$(pyenv init -)"
          pyenv activate pybamm-${{ matrix.python-version }}
          python -m nox -s integration

      - name: Uninstall pyenv-virtualenv & python
        if: always()
        shell: bash
        run: |
          eval "$(pyenv init -)"
          pyenv activate pybamm-${{ matrix.python-version }}
          pyenv uninstall -f $( python --version )
The above workflow produces the following:
- Sets the job to deploy on the self-hosted runner
- Installs Python and creates a virtual environment using pyenv
- Installs the required Python dependencies for PyBaMM and the test suite
- Runs the standard unit and integration tests using Nox
- Tears down the test environment (regardless of the test results)
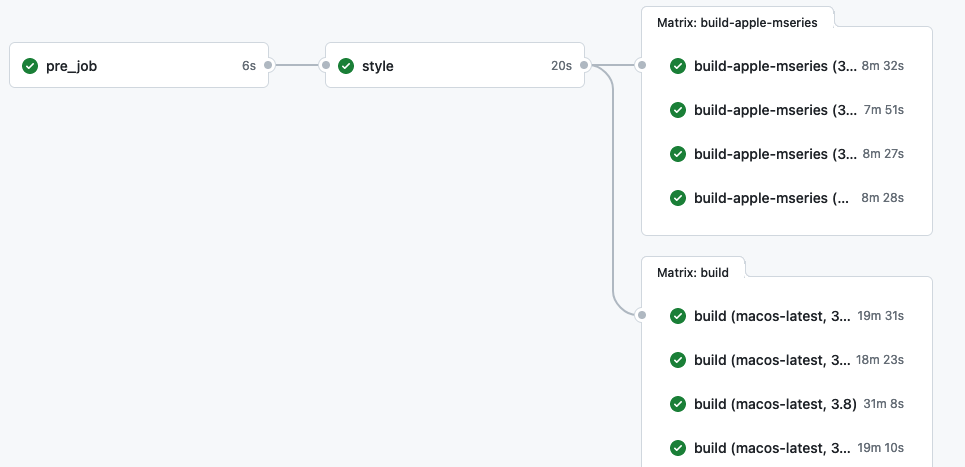
The results of this workflow are shown in the figure below. At the time of writing, the GitHub runner finishes in about 20 minutes, while the self-hosted runner finishes in 8 minutes.